By courtesy of Vipal Rubber
Tip 1: Cleaning
Always clean the sidewalls with dry brass wire brush and use a damp cloth to clean the tread and beads before the inspection process. By doing so, in addition to avoiding contamination and facilitating the inspection, it will ensure a better appearance.
Tip 2: Buffing
Perfectly buffing the tyre will ensure a standard finish, for this reason, only buff the area necessary to centre the tread, with a texture standard of 3 or 4, ensuring better anchoring of the cushion gum.
Tip 3: Repair unit application
Apply the repair unit according to the recommendations in the repair application chart; check the position of the repair unit in relation to the flexing area of the tyre to avoid cracks and possible infiltrations. Always apply sealer to the buffed areas that exceed the dimensions of the repairs.
Tip 4: Cement application
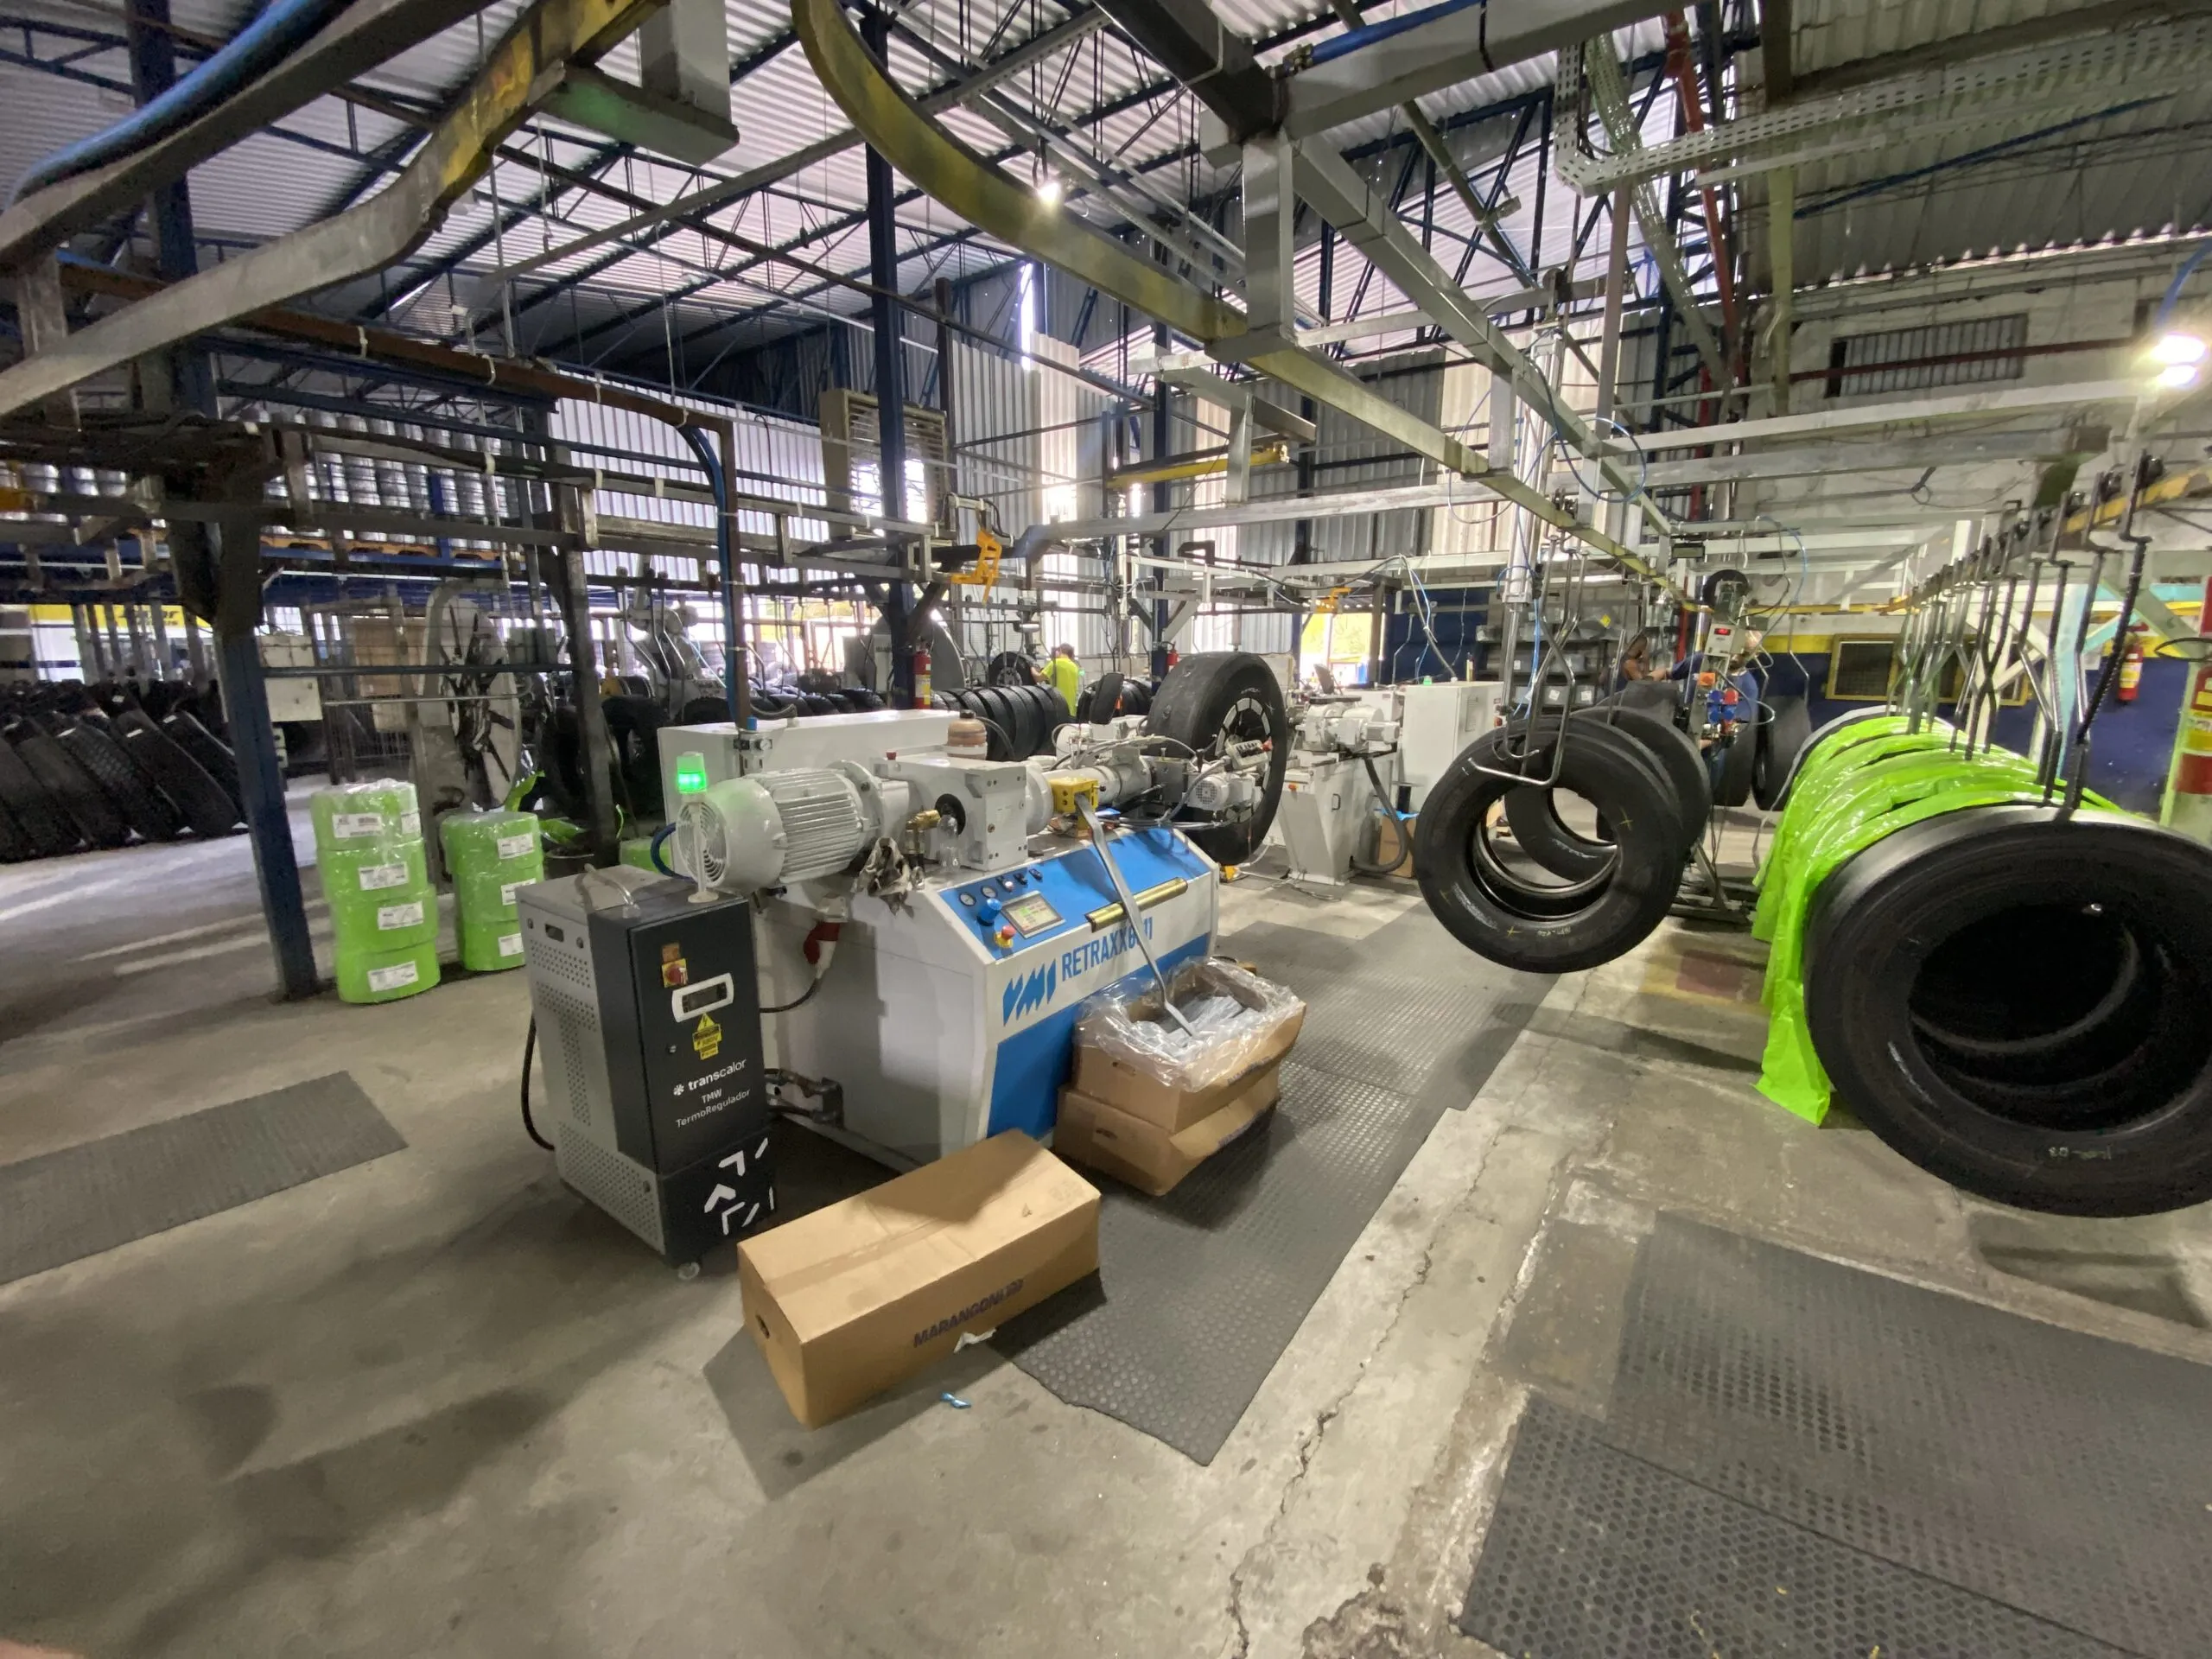
Only apply retreading cement to the buffed areas, with the tyre spinner at the speed of approximately 16 rpm, in order to optimise the amount of cement used. The spray must be activated after the tyre is in movement, avoiding accumulation and waste of cement at the beginning of the application. The cement should only be applied to the buffed areas. Cement should not be applied to areas that have not been buffed, as it compromises the appearance of the tyre, contaminates the accessories (curing tubes, envelope, INNLOP) and can shorten the service life.
Tip 5: Tread application
During the tread application, check the tyre perimeter versus the tread length to avoid excessive stretching or shrinking of the tread. If necessary, distribute in sections every 90°. For traction designs, the tread length being applied can be a maximum of 30 mm shorter in relation to the tyre’s perimeter. For other designs, the tread can be up to 30 mm longer than the circumference of the tyre.


